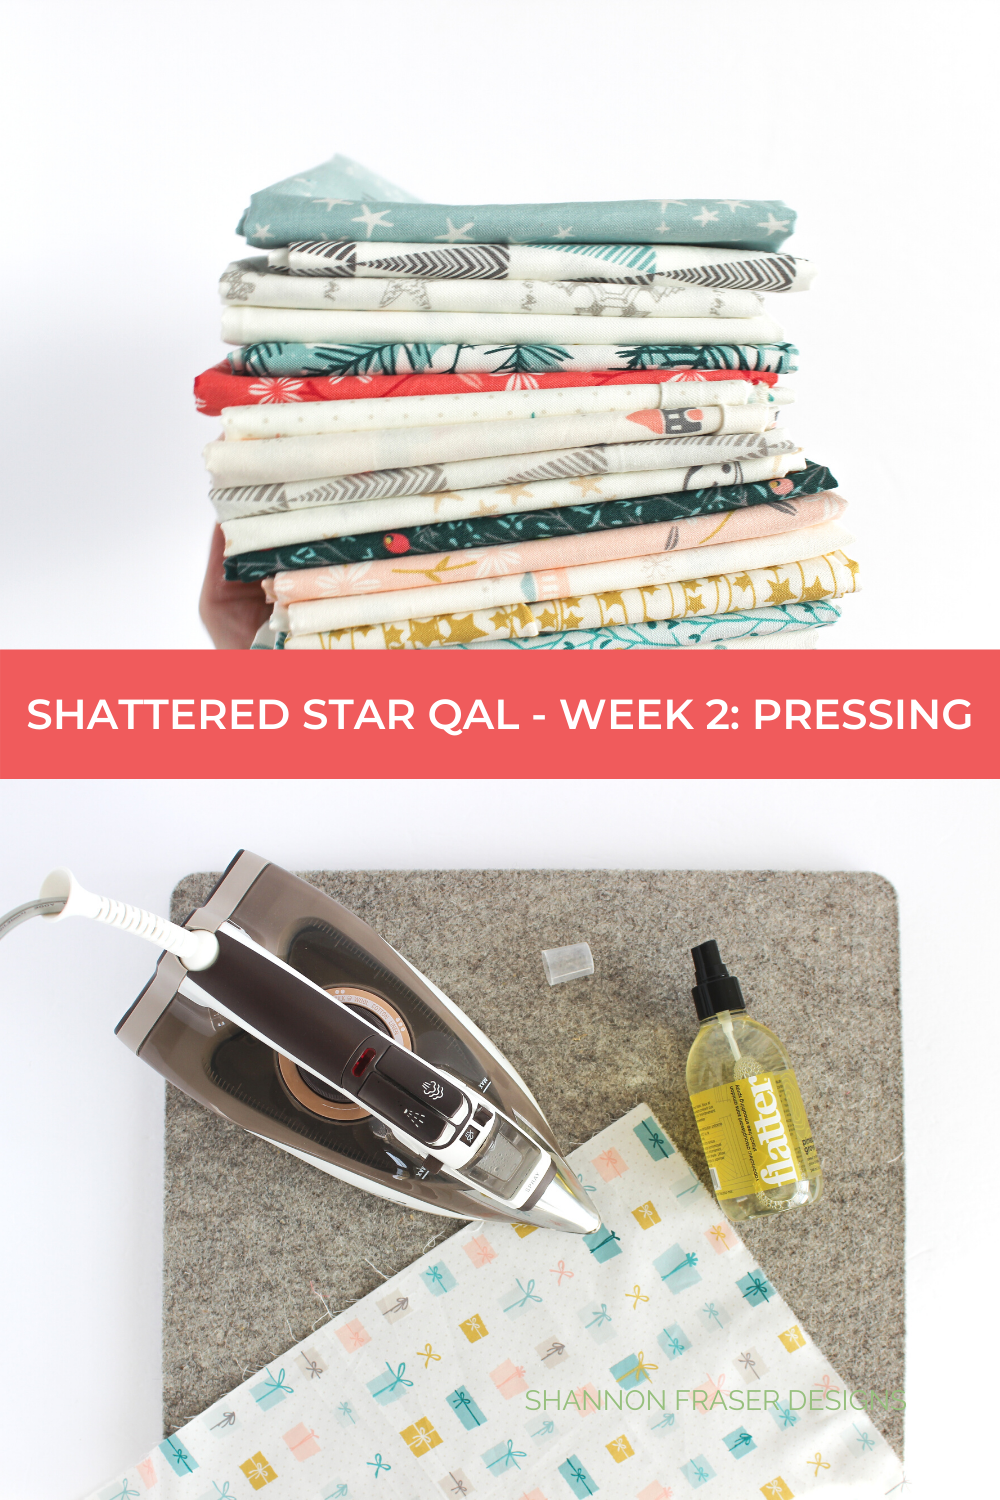
Shattered Star Quilt Along – Week 2: Part 1 – How to press your fabric

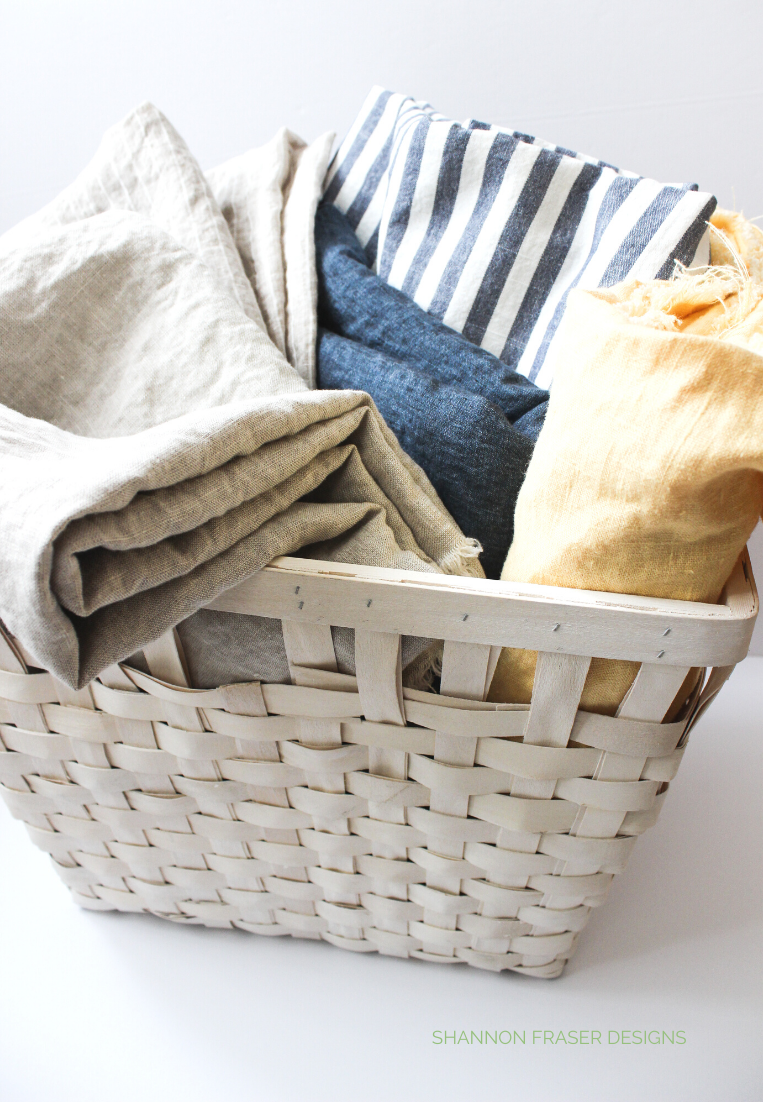
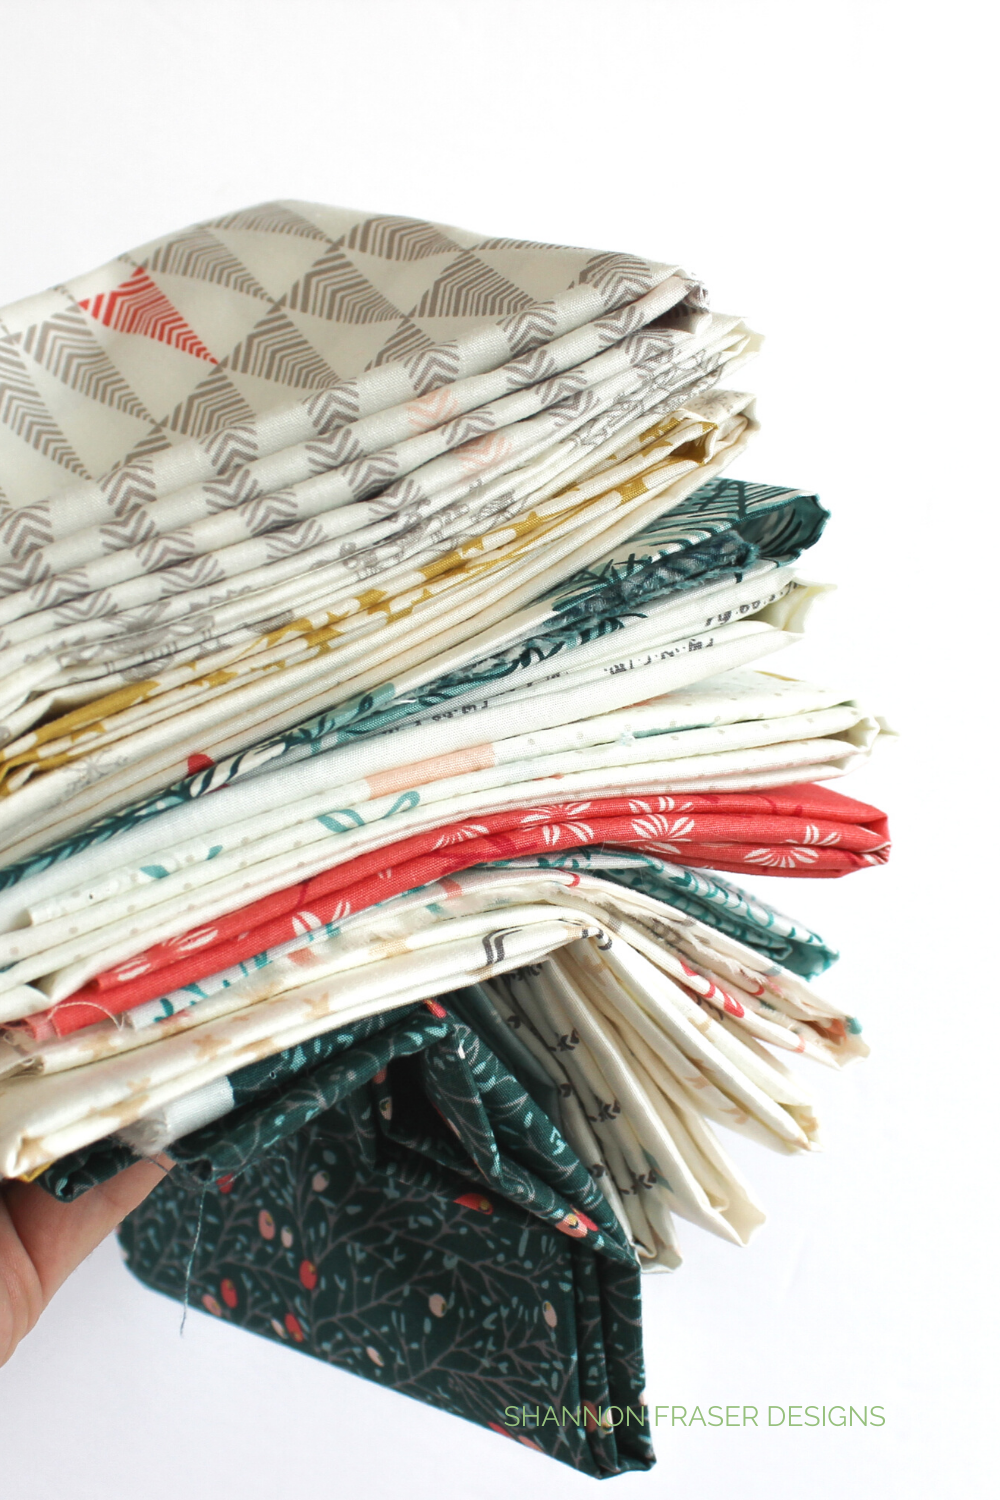
It’s time to dive into those pretty textiles you picked out last week and start cutting them!
But before we can cut, we need to prepare those fibers for the ultimate cutting experience and that means one thing – pressing!
Now, I know pressing is not the most glamorous step in the quilting journey, but it’s one that I’ve learned is essential to get right in order to set yourself up for maximum success throughout your quilting journey.
Cause here’s the thing: quilting is all about building blocks. The care you put in at each step builds upon one another. And unfortunately, you often can’t come back to fix a mistake.
Which is why I’ve broken Week 2 of the Shattered Star Quilt Along blog posts into two parts. Part 1 focuses on all things pressing and Part 2 dives into cutting!
Let’s do this!

*This post contains affiliate links, meaning, at no additional cost to you, if you click through and make a purchase, I may receive a commission.
TO PRE-WASH OR NOT TO PRE-WASH – THAT IS THE QUESTION
The first thing you’re probably wondering is: should you pre-wash your fabric or not?
This is an ongoing debate in the quilty world and I’m not here to solve it for you! What I am here to do is explain the pros and cons associated with pre-washing your fabric so you can decide what’s the best approach for you.
Let me start by saying I used to pre-wash everything. Even my batting! I know, that’s a lot!
I even used to pre-wash my fat quarters, which if you’ve ever done this, then you know they unravel A LOT! This is what initially made me question whether I should be pre-washing my fabrics. I felt like I was losing so much of my fabric to a tangled mess of threads.
I’ve since learned that you can stitch a staystitch all around the entire perimeter of your fat quarter (or other pre-cuts). This will help prevent your threads from fraying and coming loose. But that’s also quite a bit of work (at least to me!) and I’ll be honest and say most of the time I want to dive into my quilt project and not be faffing about with staystitches.
You could opt to hand wash your FQs which would help prevent some of that fraying.
PROS OF PRE-WASHING
It pre-shrinks your fabric, resulting in a less crinkly quilt upon first washing.
It colour fastens the fabric dyes leaving less chance for your colours to bleed.
It removes the starch and sizing the manufacturer used in their fabric and returns the fabric to it’s original state.
It removes any dirt accumulated from being in the manufacturer’s warehouse or stored in a quilt shop.
If you’re working with different substrates (e.g. using cotton and linen) that shrink at different rates, pre-washing means you’ve pre-shrunk your substrates and they won’t shrink at different rates once you wash your quilt (which could lead to torn seams if the shrinkage is that pronounced and puts that much pressure on the seam).
CONS OF PRE-WASHING
It takes more time (i.e. you must have patience to tackle this step before diving into your quilty project).
You will need to spend more time pressing your fabric.
You might need to purchase additional starch to get your fabrics back to a more stiffened state to make it easier to cut.
I have since abandoned all pre-washing. Yup, I forgo it entirely. Here’s a few reasons why:
- I like that the fabric you purchase is already starched by the manufacturer, so I don’t need to stock starch. Once you wash your fabric, this pre-starch is washed away.
- I work with quite a few pre-cuts and I’m not inclined to take the extra time to stitch a staystitch.
- I don’t mind the extra crinkle not pre-washing my fabrics creates.
- It saves me time.
WHAT IS STARCH & WHAT ROLE DOES IT PLAY IN YOUR QUILTING?
Which leads me to, what is starch and what role does it play in your quilting journey?
Traditional commercial starch is an aid for ironing that helps stiffen your fabric so that it holds a pressed shape. This was traditionally used to help stiffen shirt collars or create and hold a nice sharp pleat. It was also used as a means of protecting clothing from dirt and stains. It’s best used on natural fibers such as bamboo, cotton and linen.
Usually made from wheat, rice or corn and combined with other chemicals and fragrances to help you achieve nice stiff fabric. It comes in *aerosol, *liquid and *powder format.
In the quilty world, quilters use starch to stiffen their fabrics making it easier to get nice clean cuts and stabilizes your fabric making it easier to piece accurately and keep the integrity of the block shape (i.e. it won’t stretch as much).

WHEN TO USE STARCH & HOW TO USE IT
Starch is typically used after washing and drying your fabric (although some quilters use spray starch without pre-washing) to get it nice and flat and stiff.
It couldn’t be easier to use. Each manufacturer will have specific instructions for their product, but typically all you need to do is spray a generous even coating over the entire piece of fabric getting it nice and wet with the starch. You then need to leave it to dry completely (not always) before proceeding to cut/ use your fabric.
That’s it! Super easy, right?
PROS OF STARCHING
So, if it’s so easy, why doesn’t everyone starch their fabric? Well, here’s a breakdown of the main pros and cons of starching your fabric.
- It stabilizes the fibers in your fabric, which gives you nice crisp fabric making it easier to cut and maintain its shape.
- Stiffer fabric means there is less distortion when you’re piecing and pressing your blocks together, leading to more accuracy.
- It helps keep your pressed seams in place.
- It helps resist stains.
CONS OF STARCHING
As with most things in life, there can be some drawbacks.
- It’s an additional notion to stock. You know I have a “less is more” philosophy when it comes to the quilting notions I stock.
- Since you need to use quite a bit to cover your fabric, it could get costly to stock.
- Most commercial starch is filled with toxic chemicals such as butane, Methylchloroisothiazolinone, film-forming agents, silicones, etc.
- It can be more prone to scorching your fabric.
- It can flake.
- It could leave a white residue on darker fabrics.
- It can yellow your fabrics if not washed out.
- It can attract bugs if not washed out prior to storing. This can be especially problematic for any works in progress (WIP) you need to store.
- It takes more time (if following the drying approach).
WHAT FABRICS TO USE STARCH ON
Starch is best used on natural fibers such as bamboo, cotton and linen.
STARCH VS SIZING
While starch and sizing are similar, they do have some differences. Starch is all about getting and maintaining flat crisp fabric on natural fibers. *Sizing achieves similar effects but uses a resinous solution that is either vegetable or petroleum based and often contains formaldehyde, making it ideal to sticking to synthetic fabrics. It provides a crispness (rather than stiffness) to your fabrics, makes them easier to iron and gives a “hand” to the feel of your fabric. It also helps prevent creasing. It’s less prone to scorching than starch and most manufacturers included sizing during the weaving process. For best results, sizing should be applied in small areas and pressed while still wet.
If you’re looking to get your fabrics wrinkle free and crisp (but not stiff), then sizing might be the option for you.
STARCH ALTERNATIVES
If you like the idea of starch but are not thrilled with the ingredients featured or some of the drawbacks it comes with, then starch alternatives might be for you.
BEST PRESS
I’ve heard wonderful things about Best Press from my quilty friends. This is an environmentally friendly option that performs more like sizing than starch in its level of stiffness (although it says it’s a starch and sizing alternative).
You can buy it by the *bottle or *gallon for refills.

FLATTER
Another option is *Flatter by Soak Wash, which is a starch free smoothing spray that helps relax wrinkles and freshens your fabrics all while making ironing easier and fabrics static-free. What I love most is that it’s biodegradable, plant based, phosphate free and dye-free. Plus, did I mention they come in several yummy scents?! I’m quite partial to *Pineapple Grove, but they also offer an unscented version if you’re sensitive to fragrances (which I normally am, but I don’t find these offensive or headache inducing).

This was the solution I turned to when I wanted some assistance in fighting fabric wrinkles and getting a nice press but wasn’t looking to add too much stiffness.
You can “build” the product up, but it acts more like sizing than starch in the fabric stiffness department.
Did I mention this one is bug resistant?
TERIAL MAGIC
I heard about *Terial Magic a few years ago and have been intrigued ever since. It’s a non-toxic spray that gives your fabric a paper like quality making it easier to press, cut and stitch.
All you do is spray it evenly on your fabric to soak.
Hang it to dry.
Press to set.
This one is also bug resistant!

DIY STARCH
If making your own is more up your alley, then my quilty friend this might be your ticket!
While doing some research, I kept sourcing two different recipes.
RECIPE 1 – Cornstarch
The first recipe is a straight mix of cornstarch and water (with the option of adding essential oils). Add a heaping tablespoon of cornstarch to 2 cups of water. Mix to dissolve. Pour into a spray bottle. Shake before each use. You can increase the stiffness intensity by increasing the amount of cornstarch. While it should keep for several months, do keep an eye on it as it can spoil and develop mold.
RECIPE 2 – Vodka
The other popular method involves vodka. It doesn’t have to be the primo stuff either 😉 Combine 3 oz of vodka with 24 oz of distilled water (and optional essential oils). Pour into a spray bottle and use!
Whew, that’s a whole lot to cover just on stabilizer options!
WHAT’S THE BEST IRON & SHOULD YOU USE STEAM?
When it comes time to selecting the perfect iron, I can honestly say I’m still on the hunt! Everyone that I’ve tried had some cons to them. And based on all the discussions I’ve had with other quilters and the research I’ve done; it seems none of us are ever 100% satisfied with our irons.
I keep coming back to my *Rowenta Focus Steam Iron. I’m actually on my second and it’s behaved the same way as my first. Let me explain.

Around the 5-year mark, this pretty starts to leak. She’s known for it too. Just do a quick Google search and you’ll see what I mean. BUT – she presses like a dream!
Between the weight, her amazing heating capabilities, and shots of steam – this beauty gets my fabric pressed nice and flat!
Does she work without the steam? Yes. But not as effectively, in my opinion.
So, I stick with the steam.
BUT – this can shorten the life of your iron. After doing some research, it seems what starts to give on the Rowenta is the seal around the water compartment. Around the 5-year mark it starts to loosen, and the water starts leaking from the bottom of the unit. It’s really annoying and gets progressively worse. Blergh.
If you’re on the hunt, I recommend checking out the following possibilities – all of which I know quilty friends who use them and love them, but I cannot personally vouch for them:
*Black & Decker Classic – many quilters swear by this one, but I tried it and didn’t like it at all.
*Chi Steam Iron – apparently the steam is pretty good on this one.
Laurastar – this looks like the Cadillac of Irons!
*Oliso Smart Iron – I love that you don’t have to keep flipping this one up when not in use – pretty genius and puts wayyyyy less strain on your hand/ forearm if you’re doing an intensive pressing session.
*Panasonic – this one is nifty since it’s cordless.
*Reliable – these started popping up a few years ago as a really great option. I haven’t personally tried it, but it’s on my list to check out.
IRONING BOARD VS WOOL PRESSING MAT
As for what I press on. I’ve been using a regular ironing board that I picked up over 18 years ago! It’s basic and cheap and gets the job done.
I do have my eye on this bad boy that would make pressing my quilt tops and backings a breeeeeze!

So many of my quilty friends were raving about the wool pressing mats, so I reached out to The Felt Store about trying out one of theirs. I’ve only recently started incorporating the wool pressing mat in my quilty routine, so it’s a little early to share feedback, but here’s my initial thoughts:
PROS OF WOOL PRESSING MATS
- It presses your fabric from the top and bottom at the same time, saving you time which is pretty awesome!
- It retains the heat better than traditional ironing boards.
- You can buy several different sizes, which makes it easier to fit it on your table or in a small sewing space.
- Makes for a great portable option to bring to a sew-in or quilt workshop.
- They offer a very nice base to press your fabric and quilt blocks on.
CONS OF WOOL PRESSING MATS
Several quilters have complained about a ‘wet dog’ smell when using steam. Is it present? Yup, it definitely is. There’s a smell that comes from it, but not overly offensive.
You need to have something underneath to protect your surface.
The smaller sizes are not ideal for pressing yardage (will have to move it around way more than a traditional ironing board).
If you want to bring one of these into your sewing room, use code SHANNONFRASER10 to save 10% off any product in The Felt Store – USA or Canadian stores.

PRESSING ESSENTIALS
These are my pressing essentials:
- *Iron
- *Ironing Board or Wool Pressing Mat
- *Flatter Spray
Shop all my essentials here: Amazon Influencer Shop
HOW TO PRESS FABRIC
Have you noticed I keep using the term “pressing” vs “ironing”? Well, I not only explain the difference, but I also show you exactly how and when I press my fabrics vs. iron them in this handy video!
SHATTERED STAR QAL WEEK 2 GIVEAWAY
This week's giveaway is sponsored by LDH Scissors & Soak Wash!
I can't make it through a fabric pressing session without my go-to starch alternative Flatter spray! This stuff is not only efficient at relaxing your creases without any nasty chemicals, but it does it all while smelling fantastic too! Soak Wash is giving one lucky winner: 1 bottle of unscented Flatter spray, 1 bottle of Pineapple Grove scented Flatter spray + a Flatter caddy (which is pretty nifty and handy!).

I didn't put much thought into my cutting tools initially, until LDH Scissors sent me a pair of their tailor sheers and it was like cutting through buttah! I couldn't get over how different the cutting experience was. Cutting took on a whole new enjoyable meaning and I've been hooked on good quality cutting tools ever since. LDH Scissors is generously giving one lucky winner a pair of scissors!

To enter the giveaway, you must:
- Be a Shattered Star QAL newsletter subscriber (sign up here)
- Be following @LDH_Scissors, @soakwash and @shannonfraserdesigns on Instagram
- Post a photo on Instagram of your cut Shattered Star quilt pieces between October 19, 2020 and October 25, 2020 at 11:59pm.
- Instagram account must be public.
- Tag @LDH_Scissors, @soakwash and @shannonfraserdesigns
- Include the hashtags #shatteredstarquilt #shatteredstarqal
Week 2 giveaway is open internationally.
Dive into pressing your Shattered Star QAL fabrics and then check Part 2: How to Cut Fabric for all your slicing tips.
Happy pressing!
xo
Shannon
_________________________________________________________________________
Never miss a post - sign up for the weekly newsletter.
This post uses affiliate links. For more info, visit the FAQ page.